
Power Automate allows importing Excel data to the SharePoint list.
Use Quick Tips and learn how to automate the process of data import from Excel file to Microsoft List.
Power Automate gives the opportunity to automate the data import from Excel spreadsheet to SharePoint List records.
Learn how to build integration with external systems and Office 365 which deliver the records in the Excel format. Power Automate gives the possibility to automate the process of the data import to Office 365.

Technical requirements to make the integration between Excel and SharePoint works:
- You need to prepare the SharePoint list to represent same columns that contains the Excel file. Format of the data will also need to be properly represented in SharePoint List. Test if your data will automatically fit in the SharePoint metadata.
- Data in the Excel file needs to be stored in the Excel table. Select your data and go to Insert -> Table.
- In your Excel file add an additional column Imported.
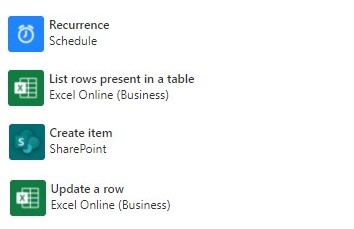
In this article you will learn how to use Power Automate flow actions and triggers:
- Trigger – Recurrence
- Excel Online (Business) – List rows present in a table
- SharePoint – Create item
- Excel Online (Business) – Update a row
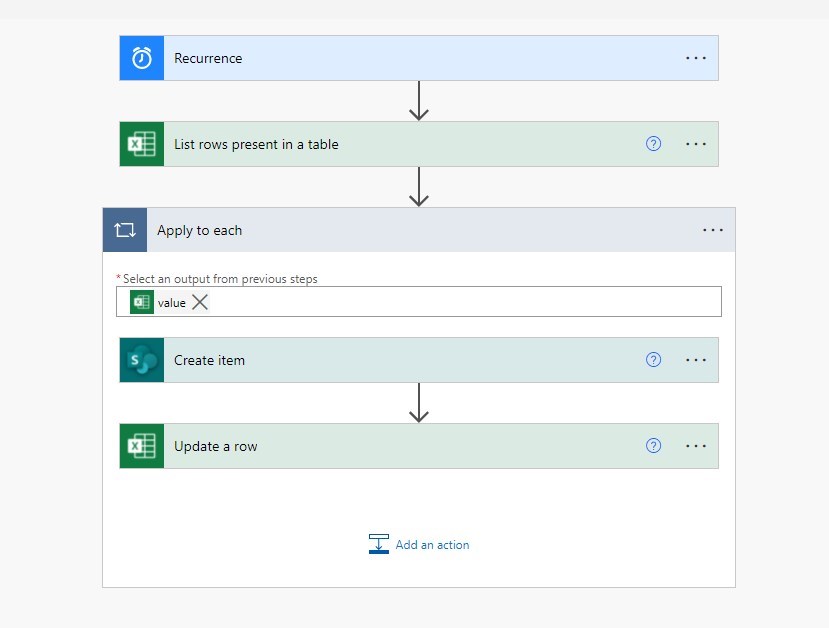
Integration between Excel spreadsheet and SharePoint List will require 3 steps in the Power Automate.
Import Excel data to SharePoint List in Office 365
You can import Microsoft Excel spreadsheet records to the SharePoint Online list in a few steps.
Trigger – Recurrence
In this case, I would recommend loading the data from the Excel file based on recurrent schedule, rather than based on file edition.

To execute Power Automate flow set up recurrence:
- Interval – number of …
- Frequency – what should be period of time when the workflow should be executed: second, minute, hour, day, week, month
Load the new records from Excel file
In the first step, you will need to load new records from the Excel file. Use Excel – List rows present in a table action to do that.
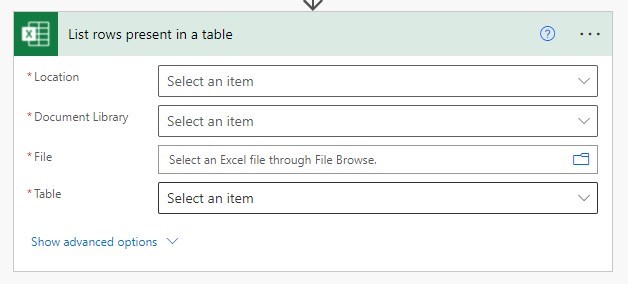
To load a record from Excel files set:
- Location – select the location like OneDrive or SharePoint site
- Document Library – choose the document library where your Excel file is hosted
- File – your Excel file location
- Table – select Excel table from available tables
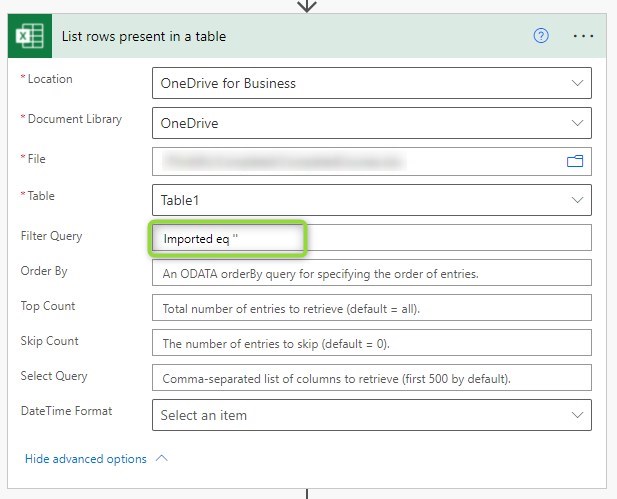
There are multiple filters you can use to limit the number of records you would like to load from Excel. I recommend using Filter Query with correlation with the “Imported” field
- Filter Query – Use the statement Imported eq ”. In such case, you will load all recorded with empty values in the Imported column.
When you will importing Excel recorded using Power Automate it could look like this:
You will be able to get through imported recorded and do additional operations recorded by record in the next step.
Create SharePoint list element using Excel data
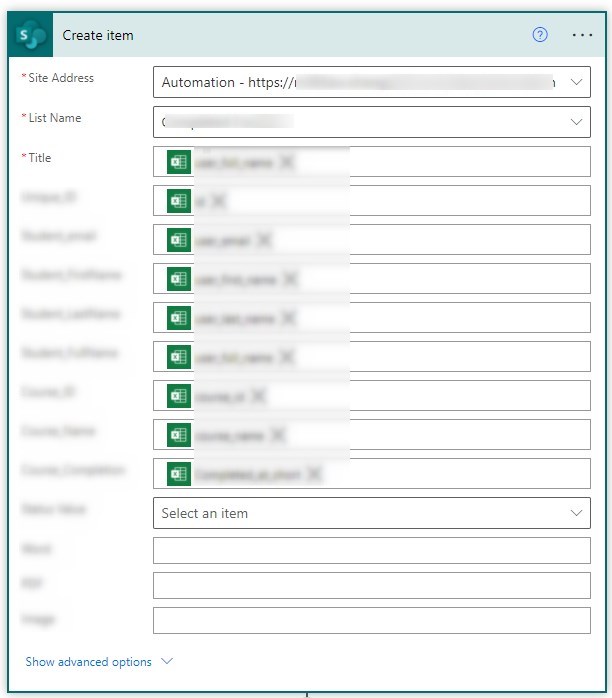
Now you will be able to create a new record in the SharePoint List using data loaded from Excel. Use Create item action to generate new record in Microsoft List.
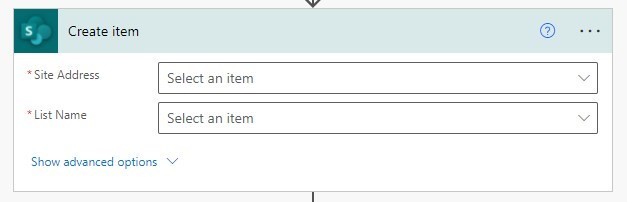
To import Excel data to the new SharePoint list record, set:
- Site address – Id of the document from Create the file action
- List Name – Select the targeted format of the file you would like to get during conversion
When you will create a new item in SharePoint list based on Excel data using Power Automate it could look like this:
This action will be done in the loop for every record loaded from an Excel file. In the next step, you will update the Imported column in the Excel file to exclude it from next load of the data.
Update a row in the Excel file to mark it as imported
In the last step, you update the Excel record and mark it as Imported by updating it with the “Yes” value. You will use Update a row action to do that.

To update the Excel record and mark imported data, set:
- Location – select the location like OneDrive or SharePoint site
- Document Library – choose the document library where your Excel file is hosted
- File – your Excel file location
- Table – select Excel table from available tables
- Key Column – IMPORTANT! select key-value column you will use to map the record, it should be a unique value
- Key Value – the value of the unique column you will use to update a record
- Imported column – the column you will use to mark imported records.
When you will update Excel record to mark imported record using Power Automate it could look like this:

As a result of this action, you will update the value of the Excel record.
Conclusion
Power Automate allows you to import Excel data to SharePoint list. Automate the process of data import to SharePoint list.