To start using Microsoft Office 365 you need to buy it first.
I prepared step-by-step instructions that will help you get through the Office 365 buying process smoothly.
Microsoft 365 tenant can be ordered by in just a few minutes. You will able to set up your Office 365 environment in just 4 steps. To make it work prepare you phone and credit card. Will all this information you are ready to start work.
How much Microsoft 365 subscription costs
In the first step, you need to choose Office 365 license you would like to start with.
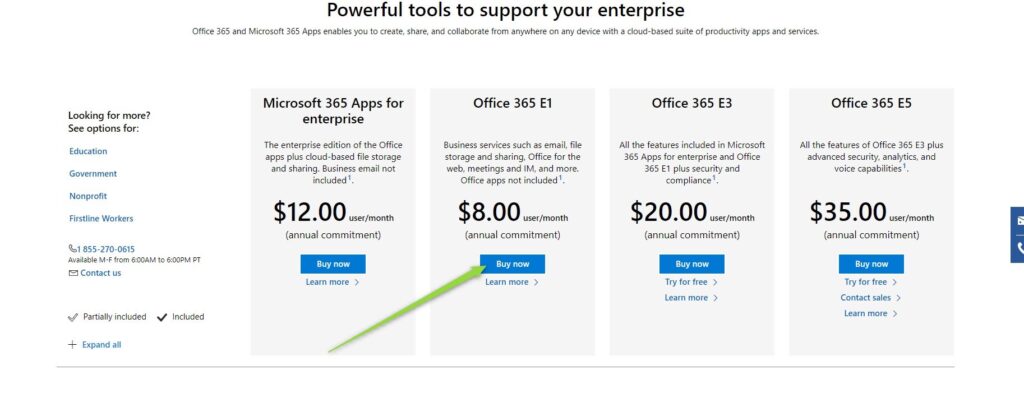
I’m sharing available Microsoft 365 plans which you can buy. Remember you can start with a Trial license to save the costs for the first month.
When you did choose your preferable Office 365 plan you can move to set it up.
How to buy Office 365
Signing up for the Microsoft 365 subscription is not a very challenging process but I would like to describe step-by-step instruction hot to buy Microsoft 365 license.
1. Choose the plan
In the first step, you need to choose a plan that will fit your needs. When you will be sure with which plan you would like to start choose the Buy now button.
2. Set up the account
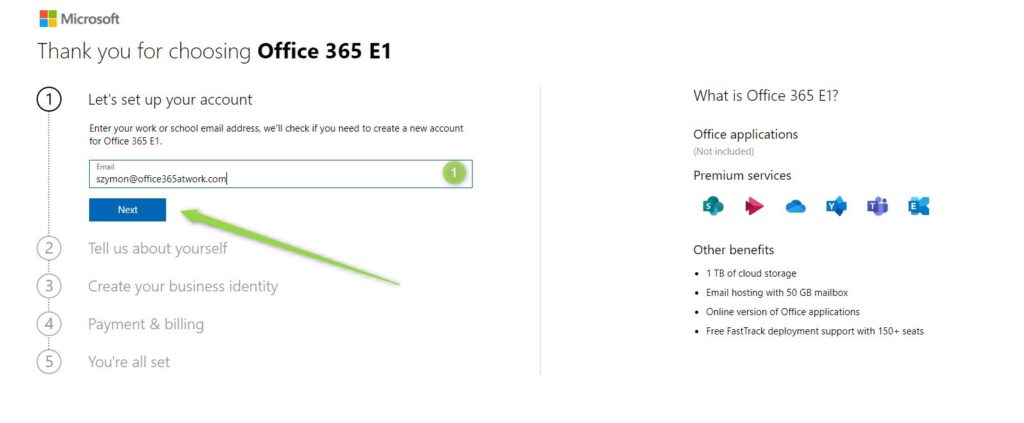
You will need to set up the account that will be used for the creation of the new Office 365 tenant. In the initial form set your email (1) and choose Next.
The system will check if such an account already exists. If this is a new setup you will be asked to Set up account.
Microsoft will be asked to confirm your personal data. you need to fill:
- Your name and surname (1)
- Business phone number (2) – this element will be verified. You need to have your phone with yourself
- Company name (3) – This name will be also used in the invoice for the service. It could be required to change it later for the proper invoicing
- Country or region (4) – Based on that choice your data will be stored in a specific location. You can move your data to a different datacenter, but the process is not simple.
- You can also share more data with Microsoft partners (5). By default, I recommend to do not select this option.
When you will be ready choose Next.
You will be asked to verify your phone number based on SMS or phone call. To confirm verification just put the code in the form and choose Verify.
After verification, your account will be ready. You can set up your Office 365.
3. Create Office 365 tenant
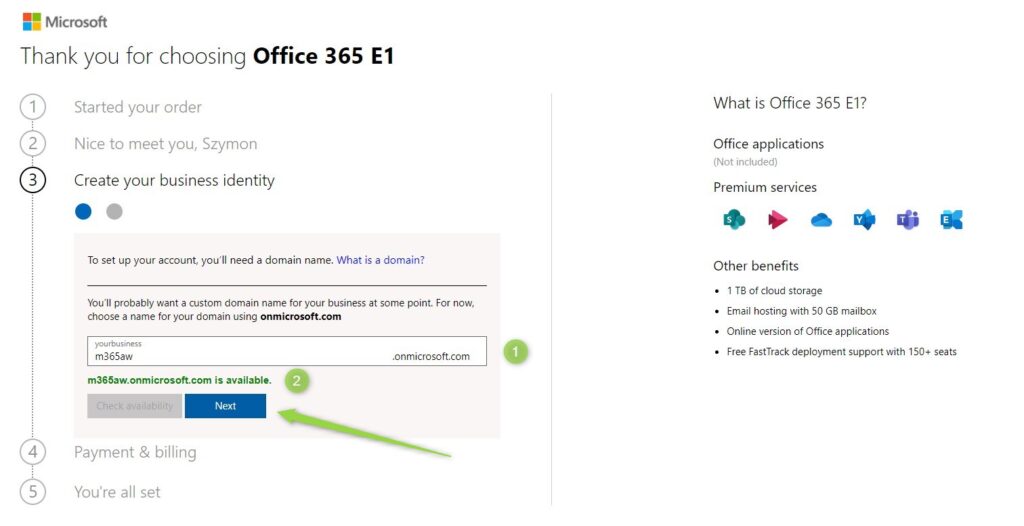
In the initial step of the tenant set up, you will need to choose your domain name (1). What is important at this moment you will configure it for the .onmicrosoft.com address, but later on, you will be able to add your custom domain, like office365atwork.com.
Remember not everywhere your custom domain will be used. For instance, SharePoint will use the below name with .sharepoint.com domain. Choose wisely.
When you will find the available address (it could be challenging ?) select the Next button.
In the next step, you will need to configure your Office 365 account.
Set your username (1) and password (2,3), then Sign up.
4. Decide about payment and billing
In the last step, you will need to fill the payment method and decide about your billing model.
At that screen you can set:
- Numer of users (1) – you can start from just 1 user
- Billing model: monthly or annual (2) – you can start from the monthly billing model and change it later on.
Form will automatically calculate your costs and possible additional taxes. When it will be fine for you choose Next.
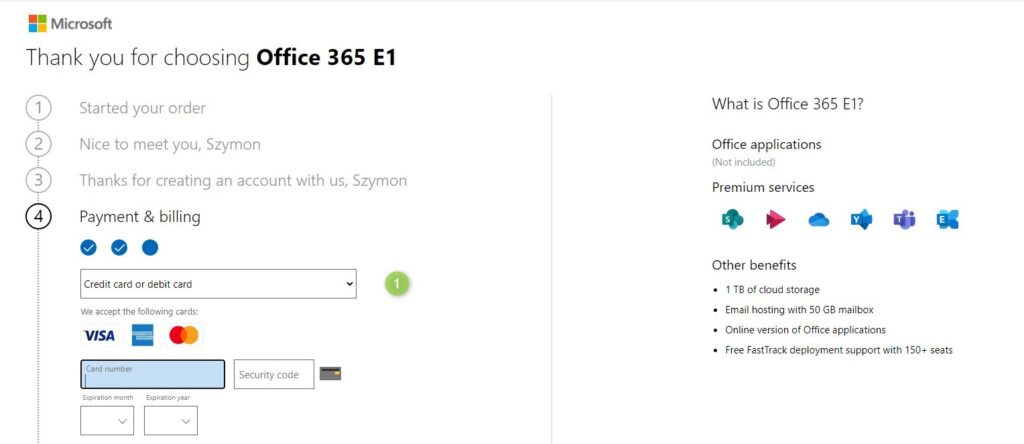
The following form will ask you to set your credit card information You can set the credit or debit card. Additional payments method could be available for your region.
You will be also asked to set detailed information about the owner of the card (1), tax information in the VAT ID field (2).
When you will be done Place order.
The system will summarize your order on the final screen.
Conclusion
I hope you will be able to get through Office 365 signing up process without any surprises and problems.


