Automation is the simplest way to improve productivity and save time.
Office 365 offers a great workflow platform – Power Automate. I prepared a list of the first five flows that you can execute to simplify your life.
Power Automate is the process automation and workflow application that automatically integrates with all other Office 365 Apps. You can use Power Automate flows to digitalize business processes and get rid of manual work.
In this article, I want to share with you five ready to use Power Automate templates. You can implement them on your Office 365 account in a few clicks. It is a really easy way to start to work with Power Automate and learn how it works.
Moreover proposed flows can improve your productivity and simplify your daily tasks. You can find out about it just a few clicks.
How to start with flows in Power Apps
Build your first Power Apps application and get through Power Apps fundamentals exercises.
Learn how to use Power Apps thanks to basic training activities.
What is Power Automate for Office 365
Microsoft Power Automate (previously called Microsoft Flow) is a business automation platform that allows you to digitalize business processes and easily integrate Office 365 applications. Power Automate is part of the Power Platforma that allows you to build digital business applications in a low-code model.
Power Automate is a workflow engine that could be an alternative for:
- SharePoint Designer
- Nintex Workflows
- K2
Activities that you can execute using Power Automate:
- sending email notifications
- approvals
- permissions setup and access management
- changing and managing the records and documents
Using Power Automate examples and ready to use templates you can start to learn the basic setup of the platform.
Free ready to use Flows examples improving productivity
I want to share with you first Power Automate workflows which you can use to start playing with Power Platform. All shared solutions are preconfigured and ready to use. The complexity of this automation is small, but they clearly show power hidden behind the Power Automate application.
You can set them up for your account in less than 2 minutes, learn more about Power Automate and improve your productivity ?
I highly advise you to try to setup these 5 flows and learn how they work, how the configuration of Power Automate looks like. This tutorial for Power Automate examples will help you to start with this new tool. Based on the experience with playing with these flows you will see benefits of using this platform. I guarantee you will want more 😉
Remember that some of the flow templates require a Premium Power Automate license. Shared examples are free and do not require additional licenses.
You can also meet the situation when Power Automate is turned off for your account. In such case, you have to contact your IT team to get access to this App.
Please remember that in the free version of Power Automate execution of the process will take about 5 minutes. It will not be an instant operation.
1. Automatically backup all your email attachments to OneDrive
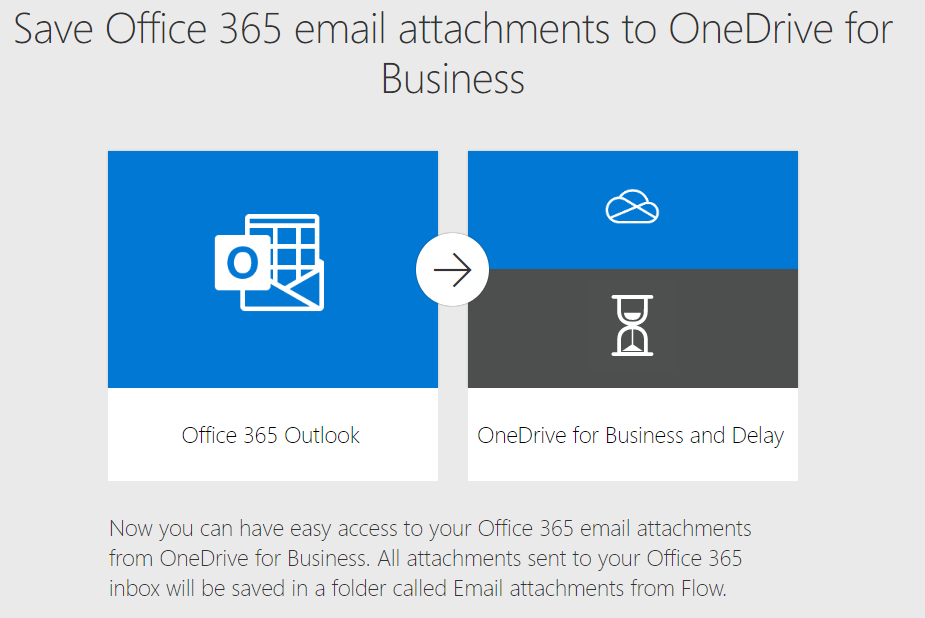
The first flow on our list will help you to copy all email attachments from your account directly to OneDrive. Thanks to saving the email documents on OneDrive space you access them from any device.
? Save Office 365 email attachments to OneDrive
Configure Power Automate flow in a few steps.
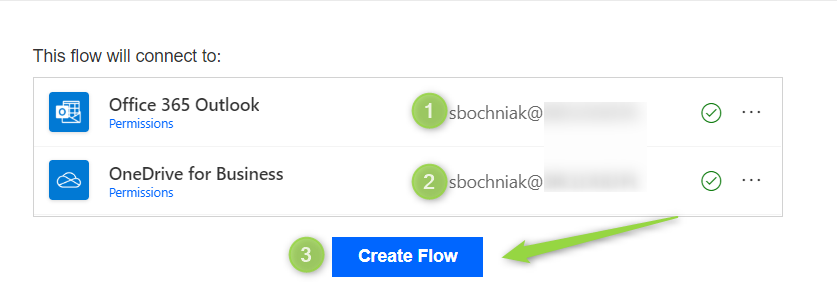
1. Check if your account is authorized to Office 365 Outlook (1) and OneDrive for Business (2). You can be asked to authorize to these services at the first time.
2. In the next step choose Create Flow (3).
3. That’s it. The flow is ready. All your email attachments will be saved in a dedicated OneDrive folder.
2. Get a push notification on your mobile when you will receive email from your boss
Using a mobile Flow app to get push reminders about email messages sent by your boss. It could be very handfull of flow during travels or training. You can configure it in just few clicks.
? Get a push notification when you receive an email from your boss
Configure Power Automate template in a few steps.
1. Check if your account is authorized to Office 365 Outlook (1) and Office 365 Users (2). You can be asked to authorize to these services at the first time.
2. In the next step choose Create Flow (4).
3. The flow is activated. As soon as you will receive email message from your manager you will get push notification on your mobile.
3. Get a push notification on your mobile when you will receive email from your VIP client
Use your mobile Power Automate application to get a push notification every time you will get an email message from key email address. Very useful feature when you are waiting for a very important email and you don’t want to miss it during travel.
? Get a push notification when you receive a message from the key email address
Configure Power Automate example in a few steps.
1. Check if your account is authorized to Office 365 Outlook (1). You can be asked to authorize these services for the first time.
2. In the next step choose Continue (3).
3. In the final step, you will be asked to set up VIP customer email address in Value (1) fields. When you will do that just click Save (2). Done 🙂
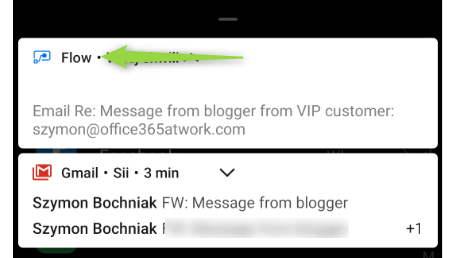
4. You will receive push notification from Flow mobile app every time you will receive the email from VIP address.
4. Integrate Outlook emails with Planner tasks
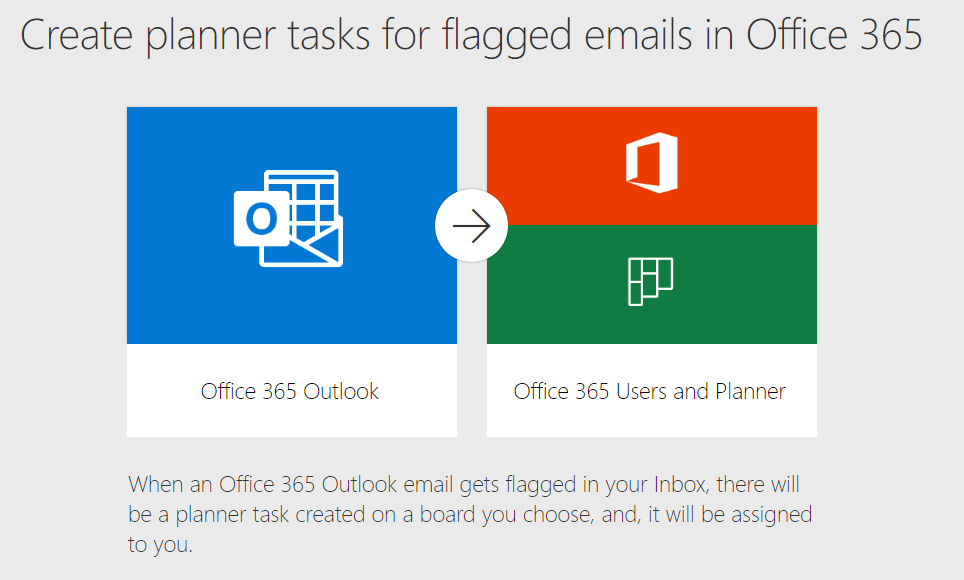
Thanks to using Power Automate you can very easily integrate the Outlook with Planner. Based on Flag function on the email view you can automatically create the task in the Planner bucket and assign it to you. It is a very simple way to manage your task in the Planner.
? Create Planner task for flagged emails in Outlook
Configure Power Automate app in a few steps.
1. Check if your account is authorized to Office 365 Outlook (1), Office 365 Users (2) and Planner (3). You can be asked to authorize these services for the first time.
2. In the next step choose Continue (4).
3. In the last step, you need to setup right Planner plan by choosing Plan (1) and Bucket (2) from dropdown lists. When you will do that just click Save (3).
4. When you will flag your email in a few moments it will be automatically added to Planner as a Task.
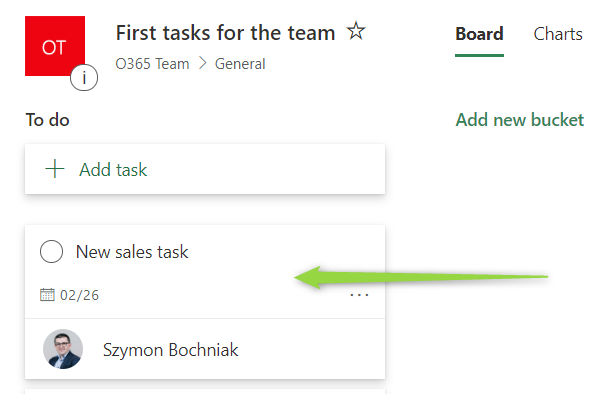
You will be able to see it in the Planner bucket.
5. Integrate Planner tasks with Teams chat messages
You also integrate Planner with Teams. In the shared template, you can automatically publish a message in Teams when a new task is created in Planner.
? Post a message in Teams when the task is created in Planner
Configure Power Automate integration in a few steps.
1. Check if your account is authorized to Microsoft Teams (1) and Planner (2). You can be asked to authorize these services for the first time.
2. In the next step choose Continue (3).
3. In the last step, you have to configure Planner plan by choosing Plan (1) and correct Team (2) and Channel (3) in Microsoft Teams. When you will do that just click Save (4).
4. In few moments after you will add a new task in the Planner.
The message will be published on the Teams channel.









These are very helpful, thank you for putting this together. Do you have any ideas on how to add more detail to the planner card? For example, can you add the email body to the Notes section of a planner card?
You will need to extend these templates for additional actions to push data directly to Planner tasks content. here You will find a description of the actions that could be used: https://docs.microsoft.com/en-us/connectors/planner/#update-task-details