Building engaging communication is always a big challenge in the organizations. One of the simplest ways to build a direct communication channel is to create a news stream on your SharePoint site.
You can easily create engaging news stream on your SharePoint site. You will need just a few steps to prepare a great looking announcement. News presented on your site could be easily delivered to other employees in the organization. Your colleagues will be able also to consume the information on a mobile device.
Creating news stream on the SharePoint site could be delivered on:
On both sites, you will find News section added automatically.
Created announcements could be easily sent to your colleagues via email newsletter.
Creation of the new announcement
When you creating the news one of the most important element is the headline of the news. Title of the news and headline image will be the first thing that recipient of communication will see.
That’s why it is important to choose a catchy headline title and attractive image.
So let’s create the news by choosing Add and News post button.
After that empty post will be created. You can start to work with it.
Adding the post image
The first thing you should do with your news is to add the image to it.
Add a headline image by choosing an image icon (1).
You have a few options to attach an image to your post. You can choose an existing file from:
- OneDrive (2) – you will have the option to choose pictures uploaded to your OneDrive space
- Site (3) – you can also choose picture already uploaded to your site
- From a link (5) – you can paste the direct link to picture hosted somewhere else. I do not recommend to use this option. Pictures hosted outside your site could be removed or changed without your knowledge
Using Web search to add post picture
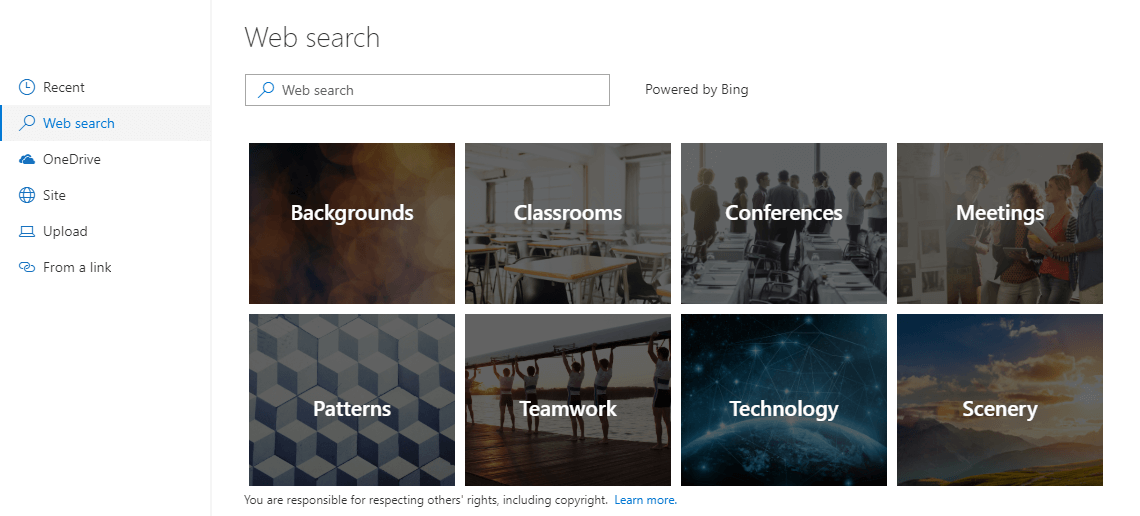
A quite fast option to attach a nice looking image to your post will be using Web search (1) option.
This option allows you to use Bing image search to find interesting images. At first screen of searching, you can start from a choice of high-level category.
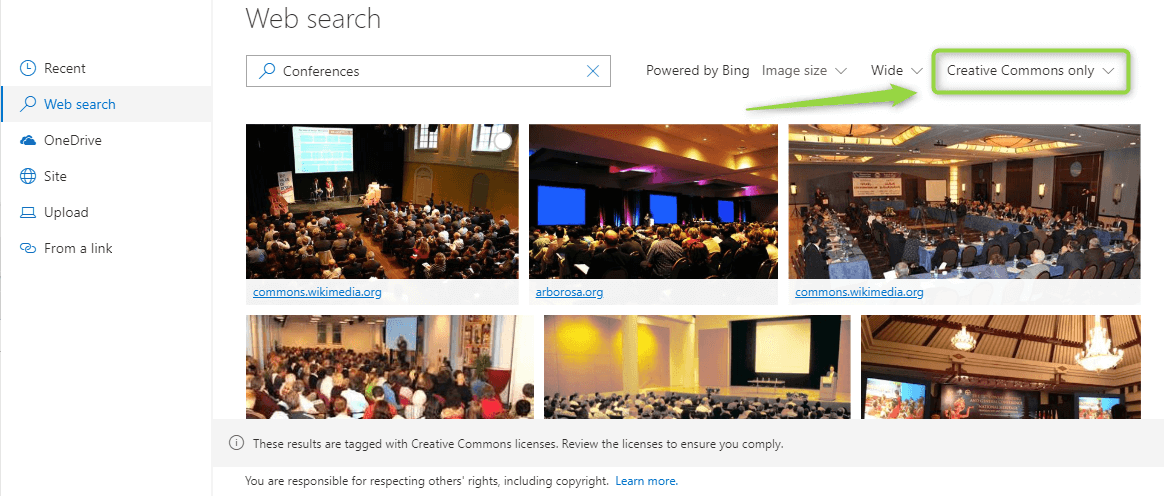
In the next screen, you will get target results for your image category. I highly recommend filtering your results to Creative Commons only results. This way licensed pictures guarantee that you can use them for free and for commercial use.
Remember that pictures using Creative Commons license have some limitations. You will be able to learn more about its licensing on the Wikipedia page.
You should be able to find here a lot of nice pictures. Unfortunately, the number of pictures is limited and it is difficult to find really great pictures in a short time. That’s why I recommend using an alternative way to find great headline pictures.
Using Upload to add post picture
In my opinion, the best way to make you post looking great is to upload previously chosen, high-quality picture. Just choose Upload (4) button.
and choose the best picture from your local drive. Choose Open (3) button to upload the picture.
Set the focal point of the headline image
When you will add the header image it is worth to set the focal point of the picture. To do that choose Focal Point button (1).
In the edition mode, you will be able to set which part of the picture should set in center.
In below example I’m setting the handshake as a center of the post headline.
Set the announcement title
After you will choose the header picture you should set the news title. Try to set the short and catchy title that will interest your colleagues.
You can see that title is displayed by white font. Setting correct focal point for the picture could be necessary to make titale readable. Dark background of the text could be necessary to make it work.
Add the content of the news
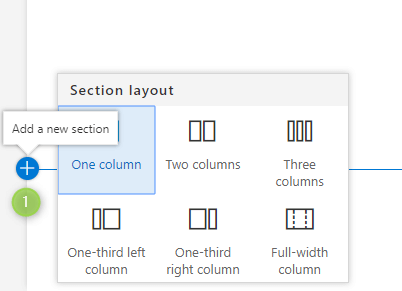
To add the content you need to first organize the structure of the news by building sections. You can add new sections by choosing Add new section plus button.
Sometimes it could be difficult to find Add new section button. Remember this button is alwayes placed on the left edge side of the edition screen.
In every section, you will be able to add new web parts.
In conclusion, sections can be changed after you will set them, by:
- Edit section button (1) – allows you to change the layout of the section (like on the screenshot)
- Move section button (2) – makes possible to move section
- Delete section button (3) – removes the element
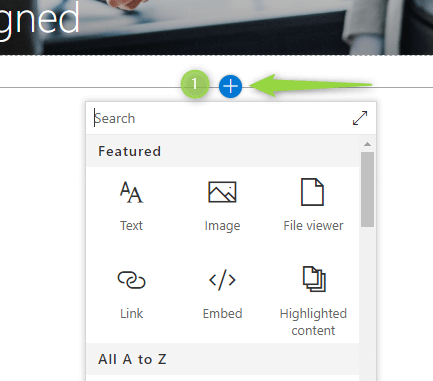
In the next step, you can add content to them by using Add web part button (1). You have many ready to use components that allows you to present content.
Learn more about what kind of webparts are available and how to use them in the SharePoint Webparts article.
How the news looks
How to get pictures for the news
You need to build pictures pack that you will be able to use in the communication.
Pictures should be:
- free (this is most optimal 🙂 scenario)
- allowed for commercial use
- allowed for changes
- business oriented
I highly recommend using portal Pexels.com for searching for great looking pictures which are free for commercial use.
Pictures Pack
I prepared for you a package of 104 high-resolution business oriented pictures. You can use all pictures for free and you can use them for commercial use.
⇒ For free you can download picture pack and publish it on your site. The only thing you need to do is to register for our newsletter.
F.A.Q.
What kind of web parts I can use in news?
You can use many available web parts as a part of the news content. You will be able to learn more about available options in article SharePoint Web Parts.
Do you have an additional question? Put it in the comment or send it to me using the contact form.


